
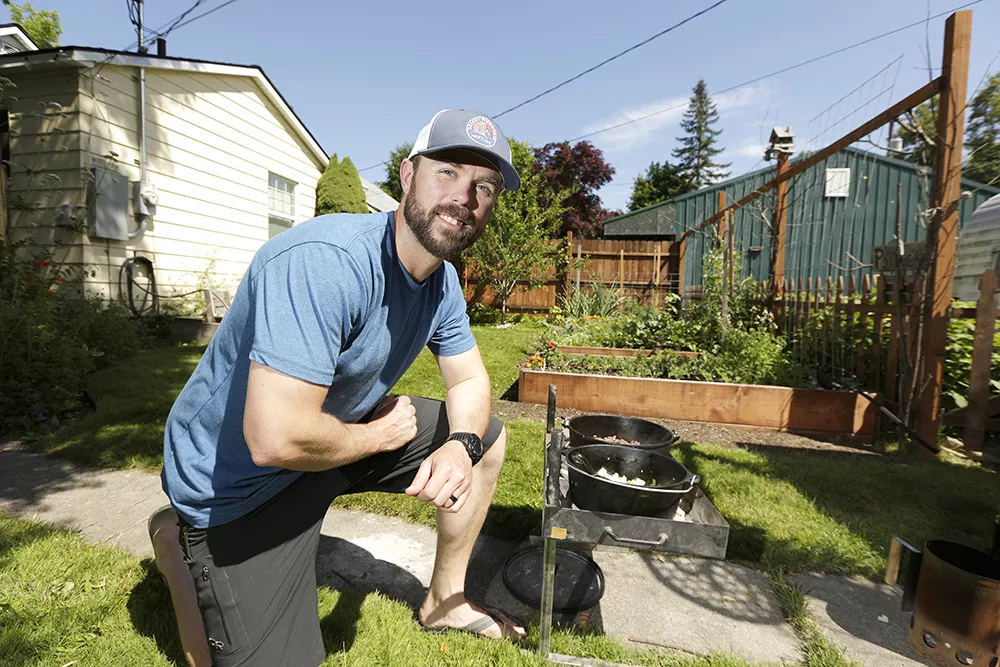
It's been said that food eaten out-of-doors — al fresco if you are in Italy — just tastes better. But how about when it's cooked outside too? Maybe that's part of the appeal of camping: cooking on an open fire with the scent wafting into the night sky. Fine as that may be, there's no need to be limited to charred meats cooked over open flames. The Dutch oven offers almost unlimited options for outdoor cooking, says Jacob Rothrock, head of North Idaho College's Outdoor Pursuits program.
"Anything you can cook in [the oven] you can cook over coals," says Rothrock, who first learned to cook with Dutch ovens as a flyfishing guide in Colorado.
Dutch ovens are versatile, deep-sided pots with a handle and lid, typically made of cast iron, although aluminum is also used, and most (excluding enameled cast iron) can be used indoors and out. They retain heat well and, with proper care, can last for decades. Using hot coals, versus grilling over a flame, Dutch ovens offer numerous outdoor cooking options, from baking, to simmering, to frying.
Rothrock has plenty of outdoor experience — he was raised in North Carolina where his parents bought an old Girl Scout camp. Rothrock recalls taking up a flyfishing pole at age 3; he was catching fish by age 4. After graduating from North Carolina State's outdoor management program, he helped guide multi-day flyfishing expeditions, which meant horse-packing everything in and out of camp, as well as cooking for guests.
He found he enjoyed teaching more than guiding and relocated to North Idaho to take a job at North Idaho College in 2007. Part of his job requires teaching Outdoor Pursuits classes, including lake kayaking, flyfishing, bike maintenance and outdoor cooking.
The outdoor cooking class covers backpacking, fire and food safety, basic kitchen prep techniques and cooking for dietary restrictions, as well as proper care of equipment.
"There are all these rules around cast iron that really don't matter," says Rothrock. It's ok to use soap and to scrub cast iron, for example, providing you season it properly. Seasoning is a simple process recommended by cast iron manufacturers for creating a non-stick cooking surface, preventing rust and extending the life of the pan.
To season, ensure the pan is thoroughly dry and coat the inside of the pan with a high-heat oil like olive oil, says Rothrock. Get it very hot again — either in the oven or over hot coals if you're cooking outdoors — to create a protective coating or seasoning over the surface, then store the cooled pan with a paper towel inside to wick condensation.
Rothrock recommends a good quality 12-inch pot with a lid that's big enough to do double-duty as a skillet. Lids allow Dutch ovens to be stacked and, more importantly, provide a place for coals to be placed above food for faster, more even cooking.
How many coals? It depends on several factors: the size of the pan, what you're cooking, outdoor conditions. Rothrock recommends looking up a coal chart, which conveys coals needed to reach certain temperatures, paying attention as you cook to see what works best.
"Experimentation is the theme," says Rothrock, which is what he tells his students, too.
"The overarching message for these students is 'You can take care of yourself. You can [cook] cheaper and healthier because you know the ingredients.'"
OOUTDOOR FEAST
Dutch Oven Cornbread
Jacob Rothrock modified his mother's go-to recipe, originally from Joy of Cooking, for this campfire cornbread. He uses a 12-inch Dutch oven with a lid; a smaller pot will yield thicker bread and will cook more slowly.
- 1 ¼ cups yellow or white stoneground cornmeal
- ¾ cups all-purpose flour
- 2 ½ teaspoons baking powder
- 2 Tablespoons sugar (use less if you prefer less sweetness)
- ¾ teaspoon salt
- 1 egg, beaten
- 2-3 Tablespoons butter, bacon drippings or vegetable oil (you can use less, but the bottom crust won't be as crispy)
- 1 cup milk
- Preheat Dutch oven and lid.
- Mix dry ingredients and wet ingredients separately.
- Combine the two in a few strokes, taking care not to overmix.
- Melt butter in Dutch oven until it sizzles when touched with a forkful of batter. Pour batter into the heated Dutch oven, cover and put a layer of charcoal briquettes on top, making sure there are also 7-9 briquettes underneath. Rotate oven and lid 90 degrees every 5-10 minutes. (Tip: align oven handle and lid bale and use it to remind you how many times you've rotated oven.) Bake about 25 minutes, depending on the size of Dutch oven and other factors (ambient temperature, wind, etc.).
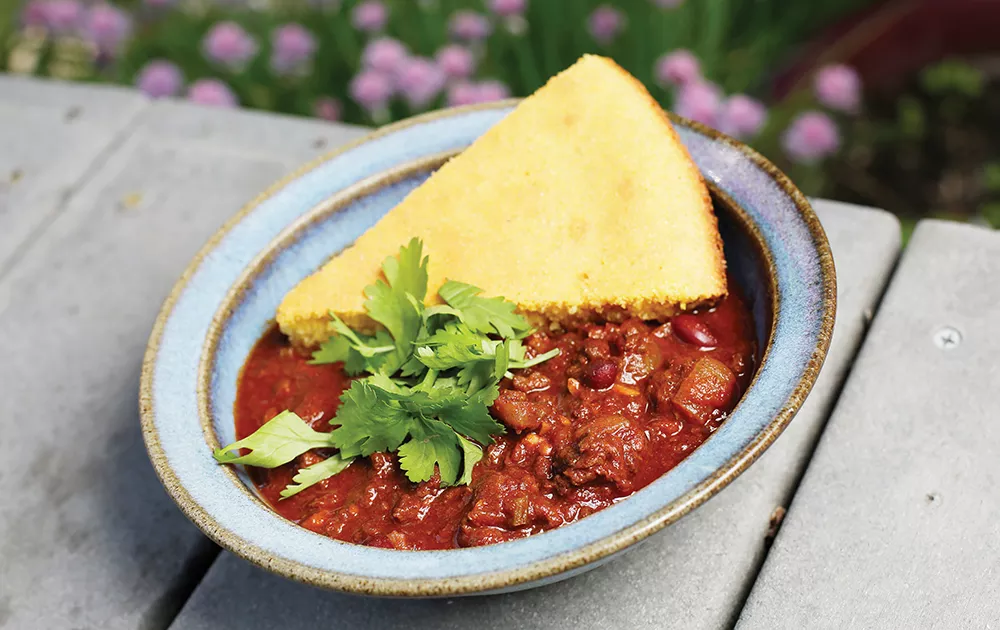
Dutch Oven Chili
Rothrock uses elk meat and prefers his chili on the spicy side; adjust spice level to personal taste. In this recipe, which only involves simmering, you'll only need coals underneath the Dutch oven, and none on the lid, just as though it were cooking on a stovetop.
- 1 Tablespoon olive oil
- 1 onion, chopped
- 2 stalks celery, chopped
- 4 large cloves garlic, minced
- 1 pound ground meat
- 5 Tablespoons chili powder (or to taste)
- 2 bay leaves
- ¼ teaspoon basil
- 28 ounce can crushed tomatoes
- 16 ounce can kidney beans, drained water to fill half of larger can salt and pepper to taste
- Preheat Dutch oven.
- Add oil, and then onions, celery, garlic and meat. Cook until meat is browned, then stir in remaining ingredients.
- Cover and cook until thickened, about 2-3 hours. Serve with cornbread and optional garnishes, such as shredded cheese, diced green onion, cilantro and sour cream.
— SHARED BY JASON ROTHROCK OF NORTH IDAHO COLLEGE
TOOLS OF THE TRADE
To be successful with your Dutch oven, Jacob Rothrock recommends the following gear:
- Briquettes and lighter fluid. (Unlike grilling, lighter fluid chemicals don't permeate the food and you want to make sure the coals get fully lit. A chimney to heat the coals, which are ready to cook on once they turn white, can be very handy, too.)
- Cutting board.
- Fire ring or a metal pizza pan to set hot Dutch oven on, minimizing impact to ground. (Fire and high heat can kill the organisms in the soil, so an elevated surface or firepan is ideal to hold both the coals and Dutch oven.)
- Leather gloves.
- Lid lifter or channel locks.
- Long metal tongs.
- Metal utensils.
- Sharp knife.
- Small metal shovel and fireproof way of disposing of ash or hauling it out.
- Water — just in case.